This page was imported from Intercom and may describe older navigation or terminology. Source: https://help.textmine.com/en/articles/9177917-how-to-use-scribe
Creating a new template
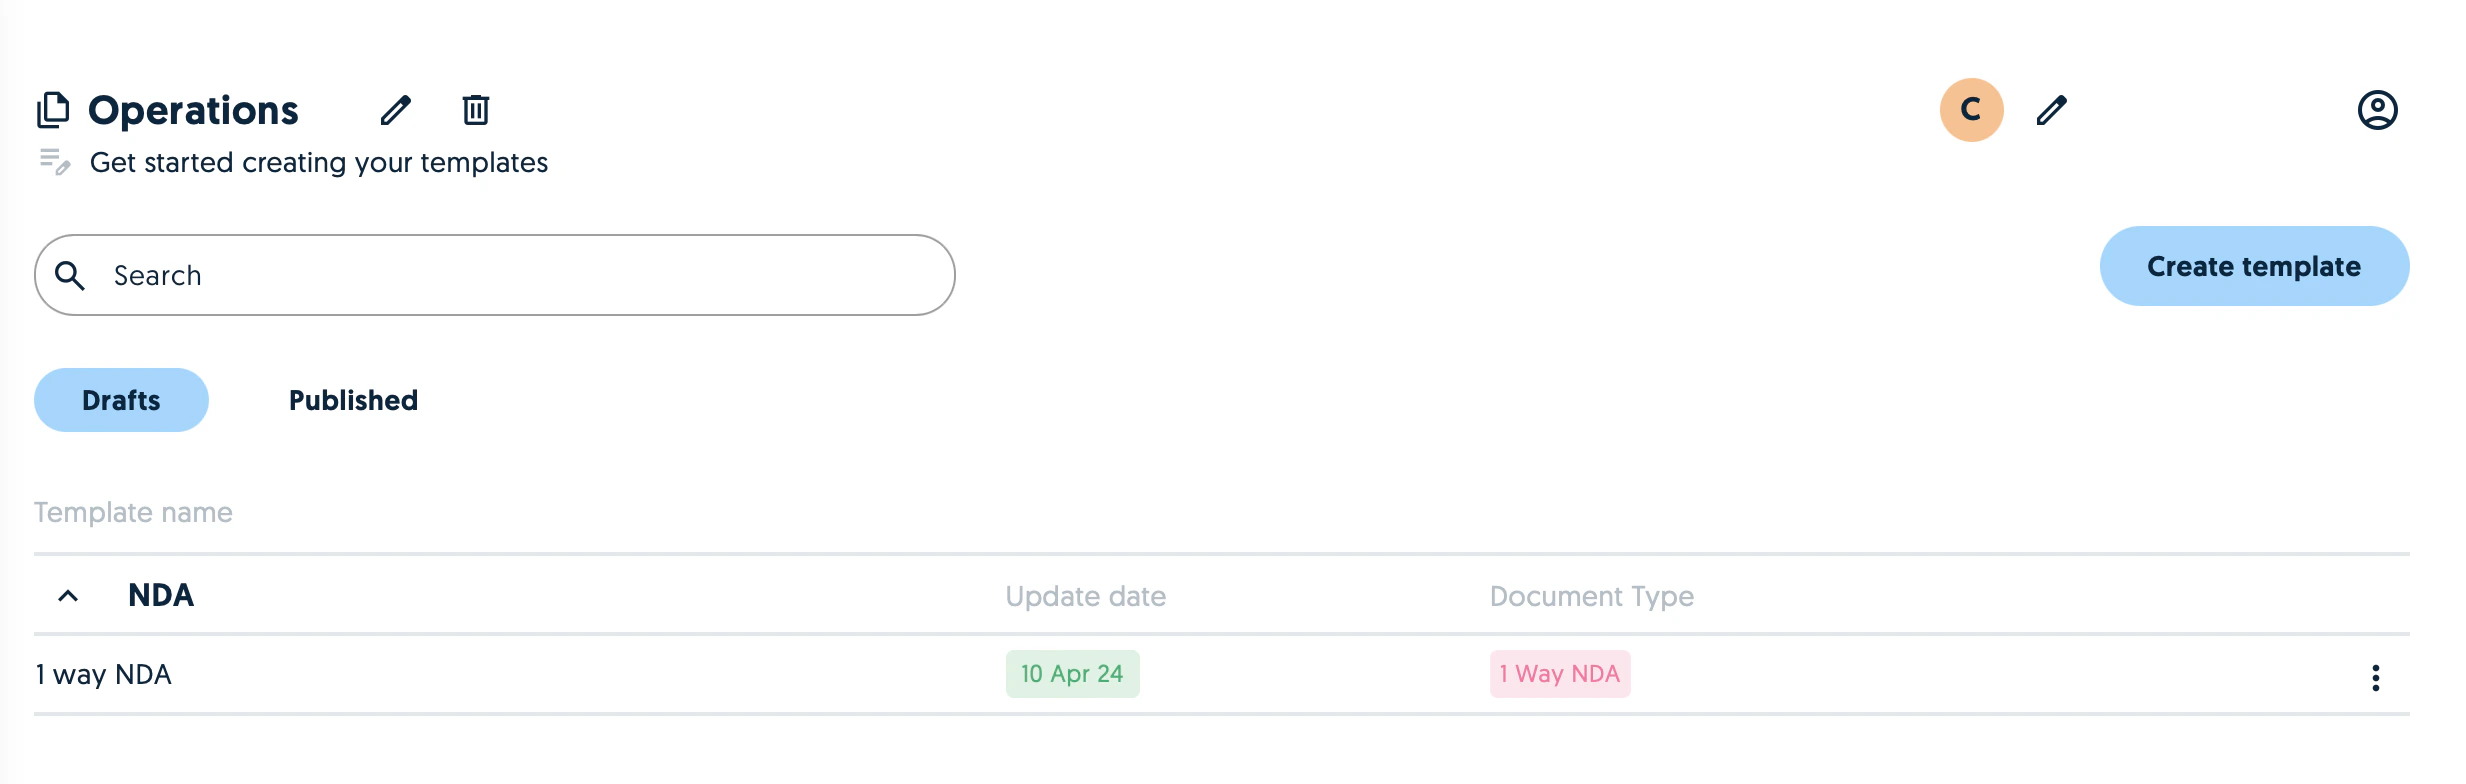
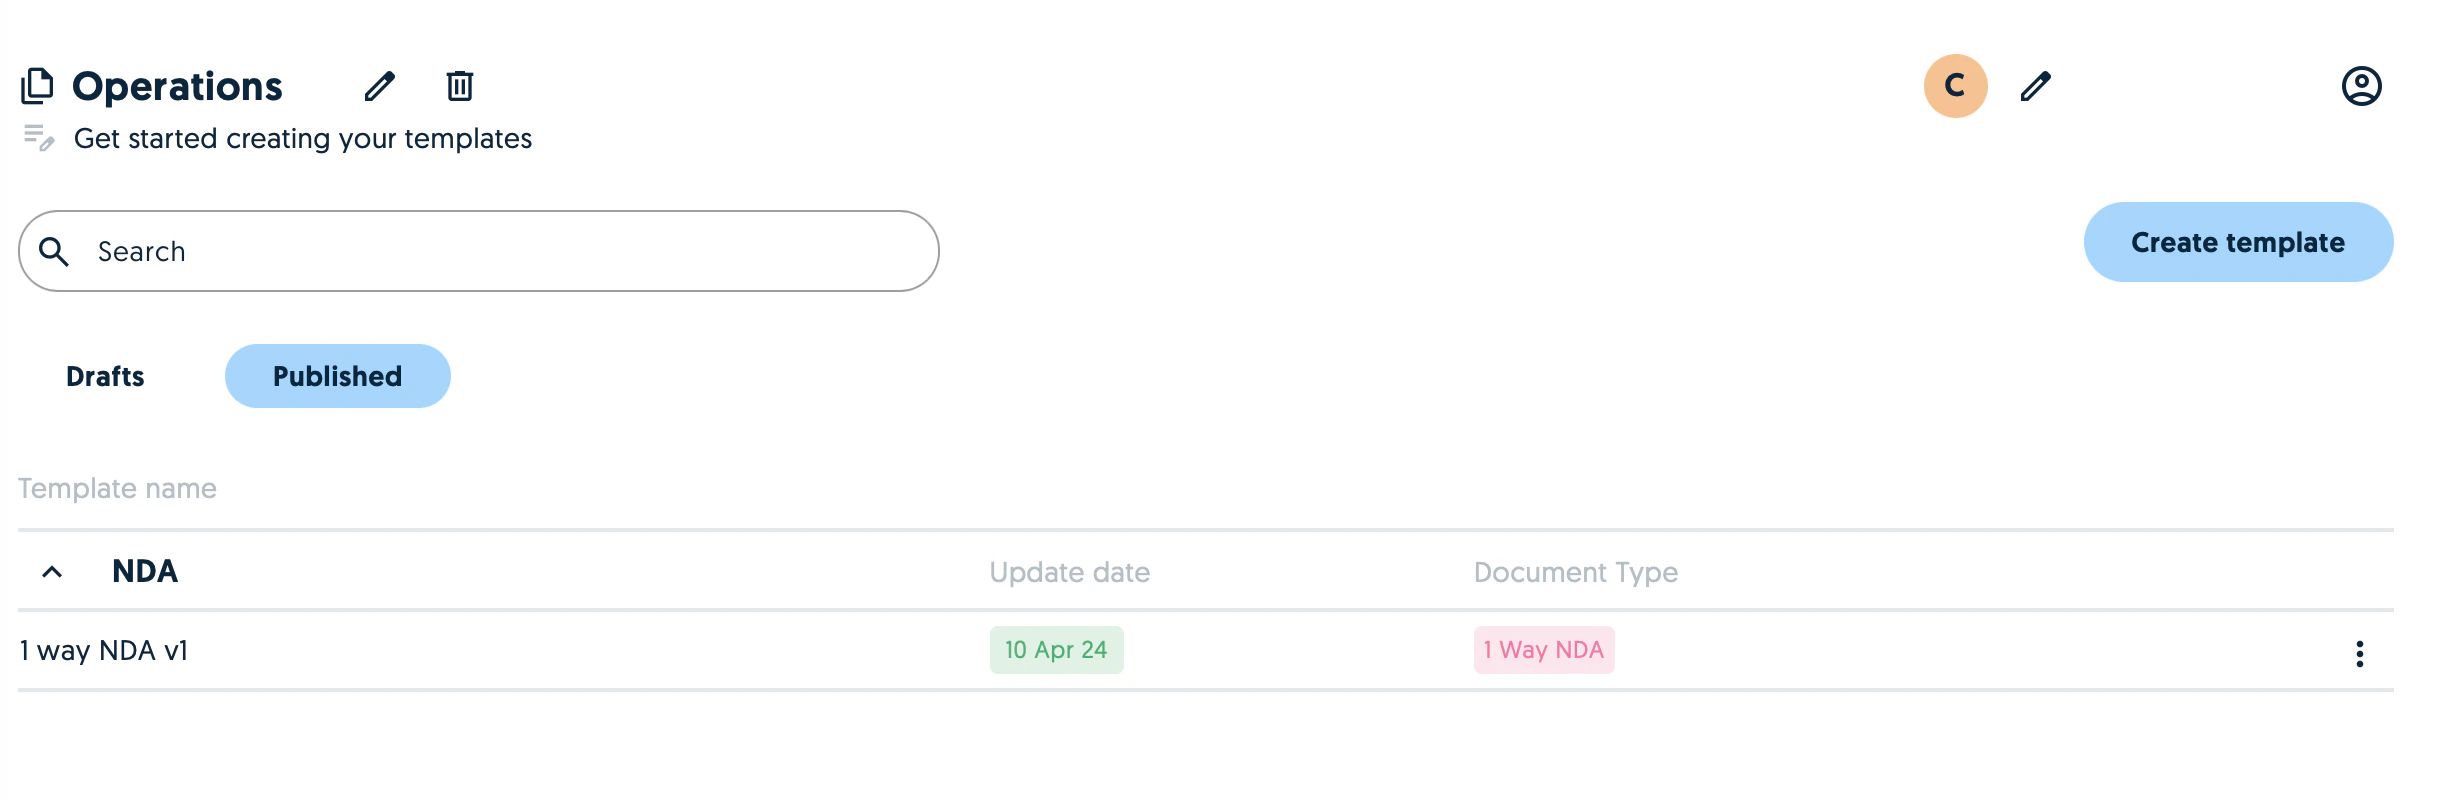
The first step is to create a template document during which you’ll need to specify a folder where it will be stored and its type. You can create new folders and types or select from existing ones.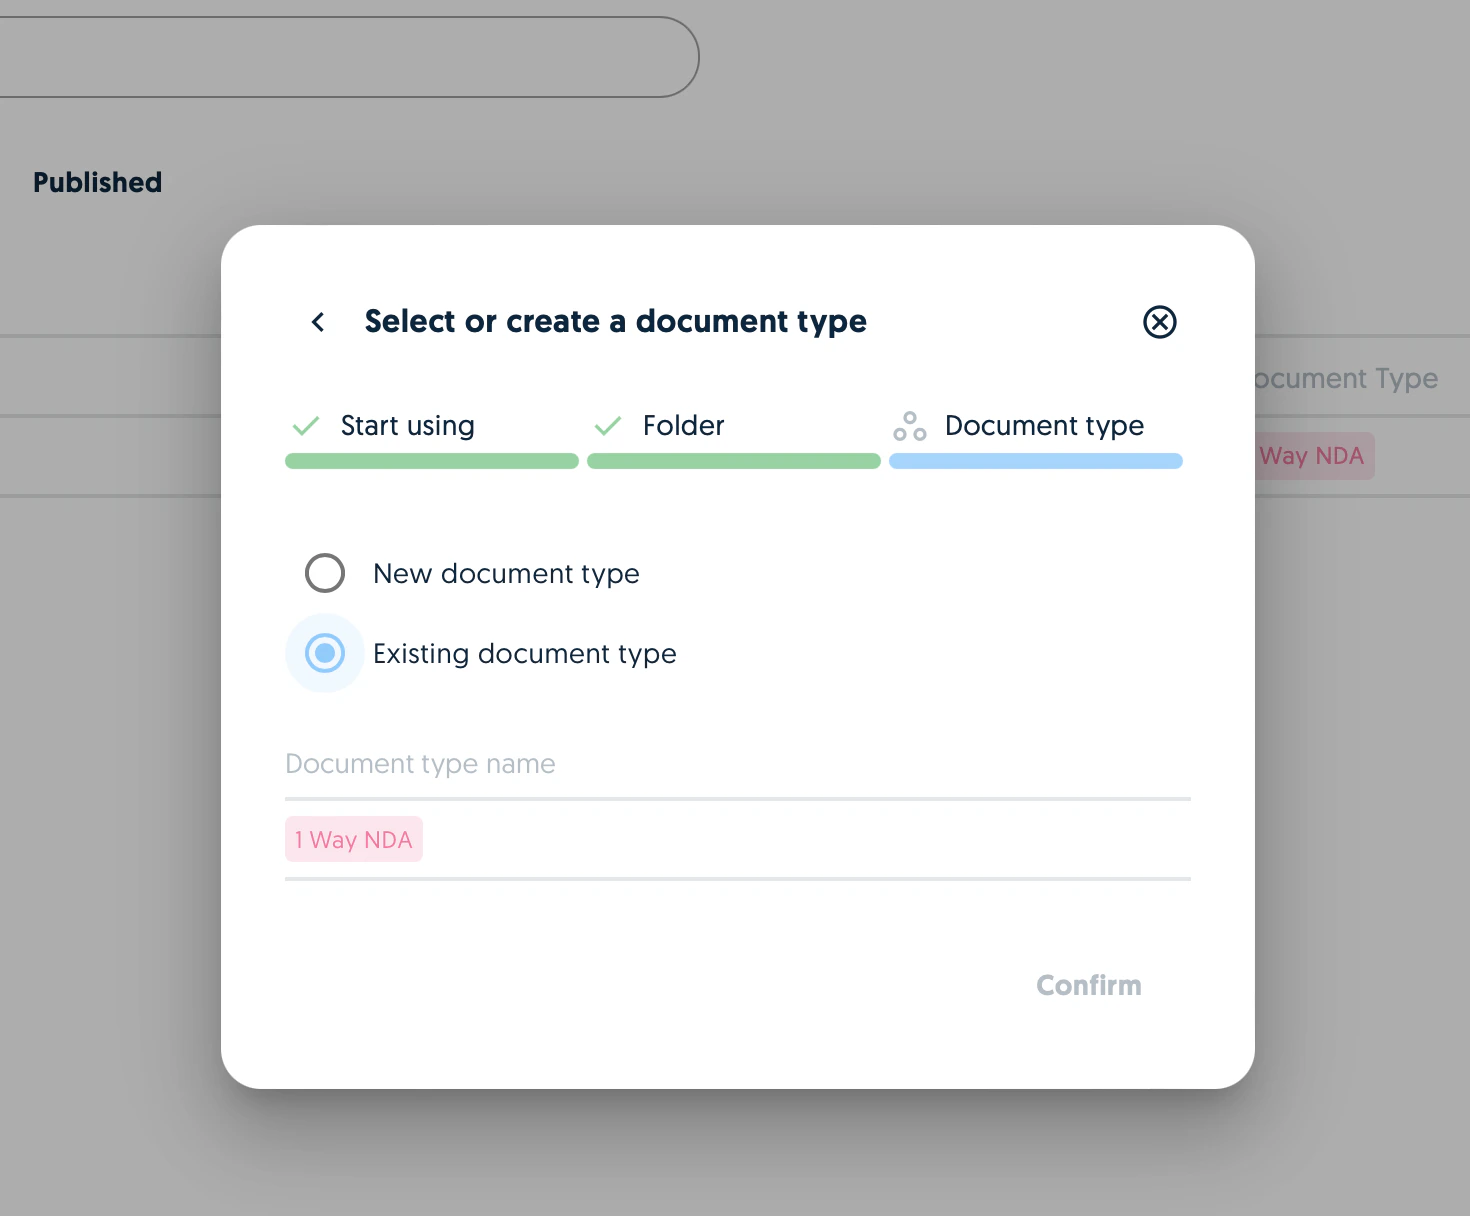
Drafting the template
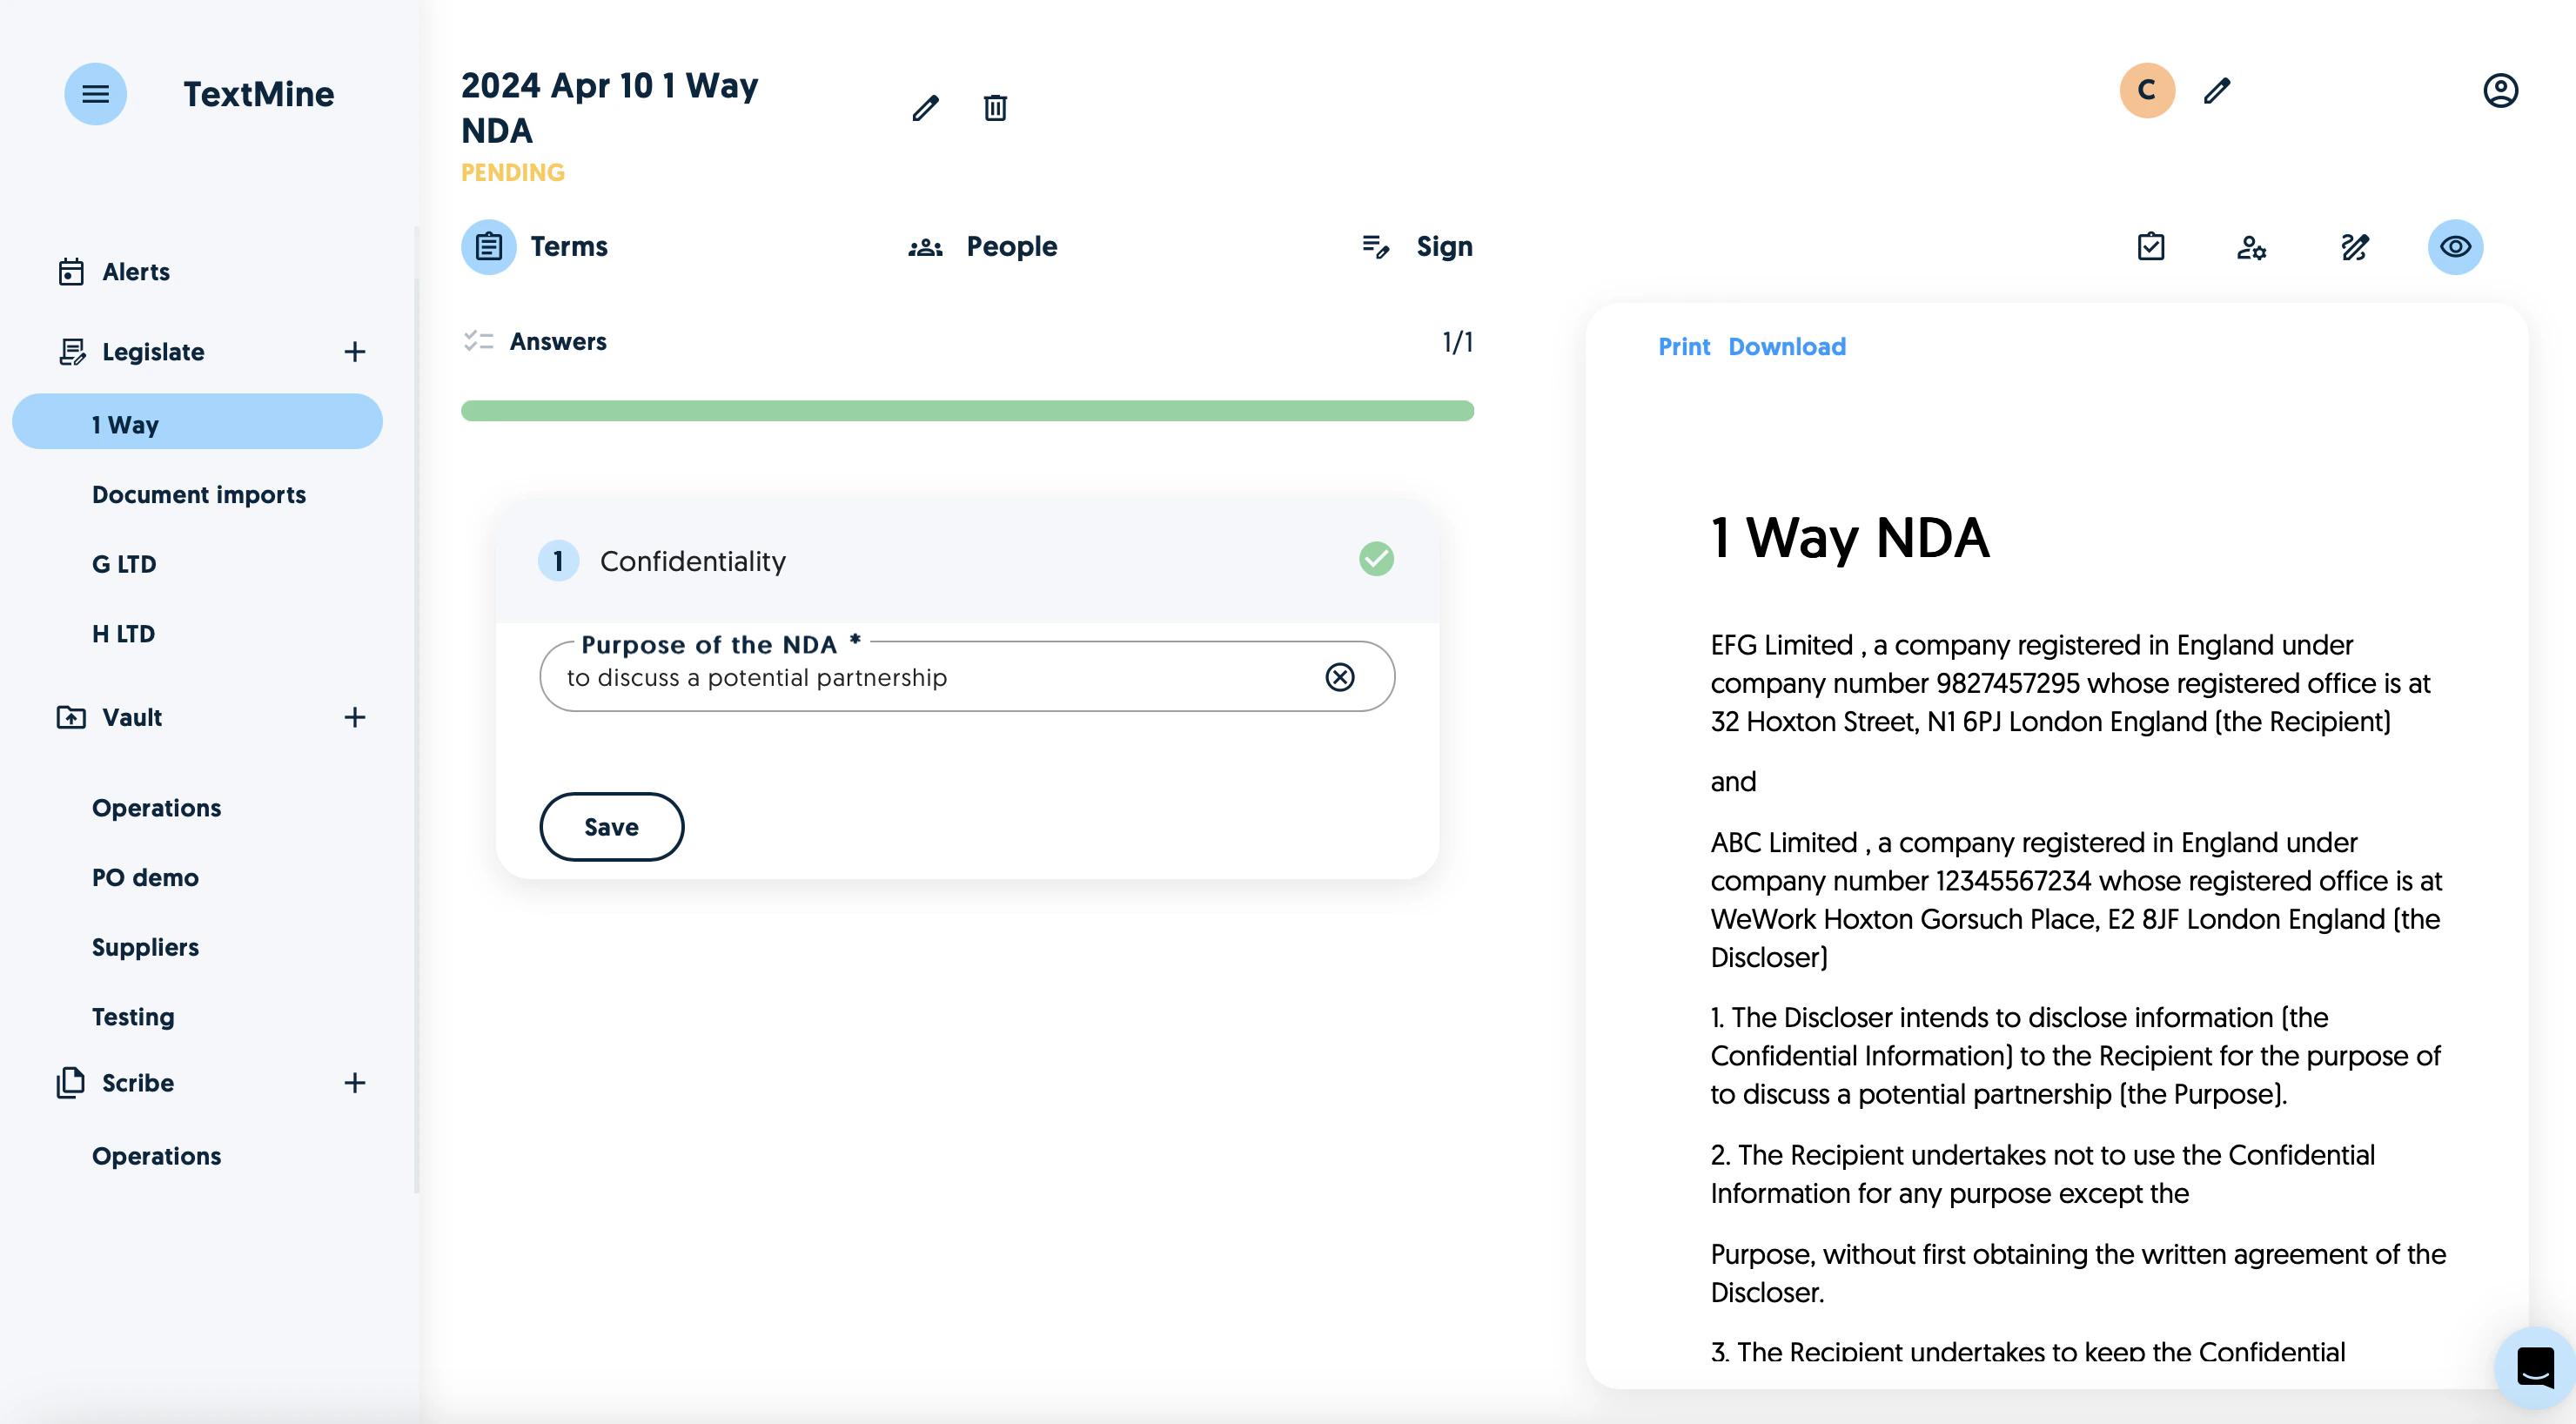
Once the new template has been created, click on it to start drafting.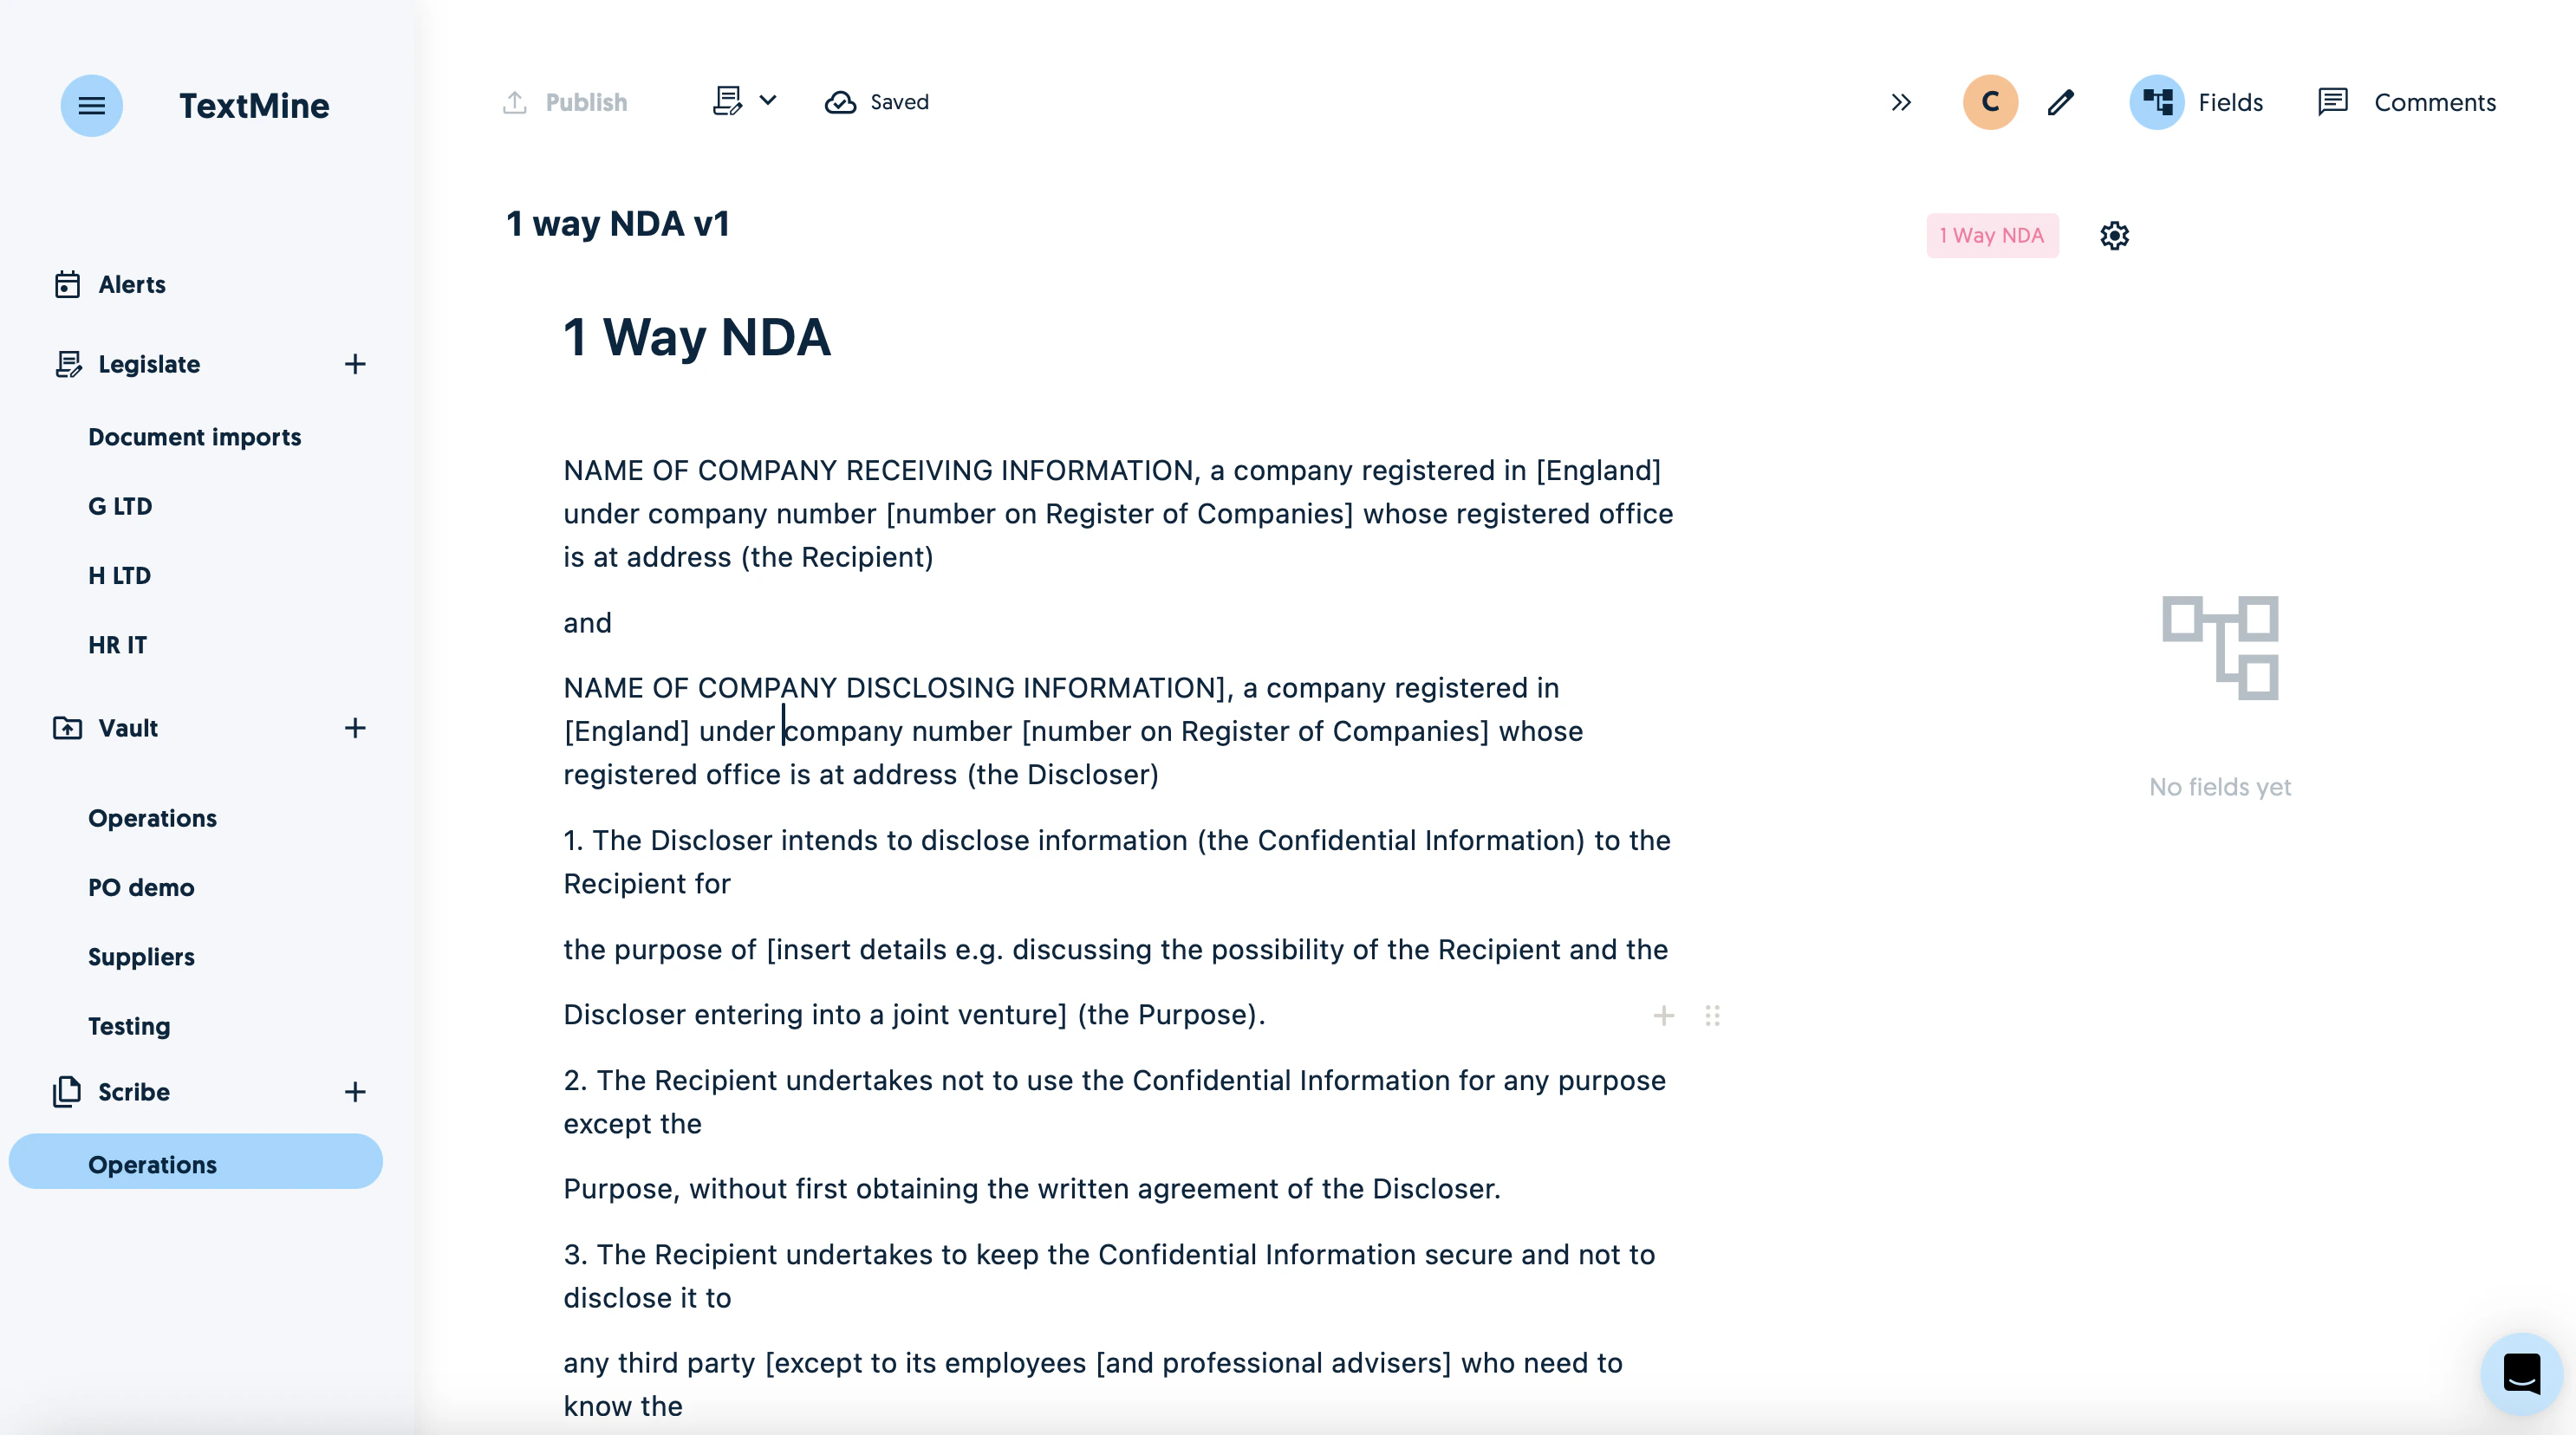
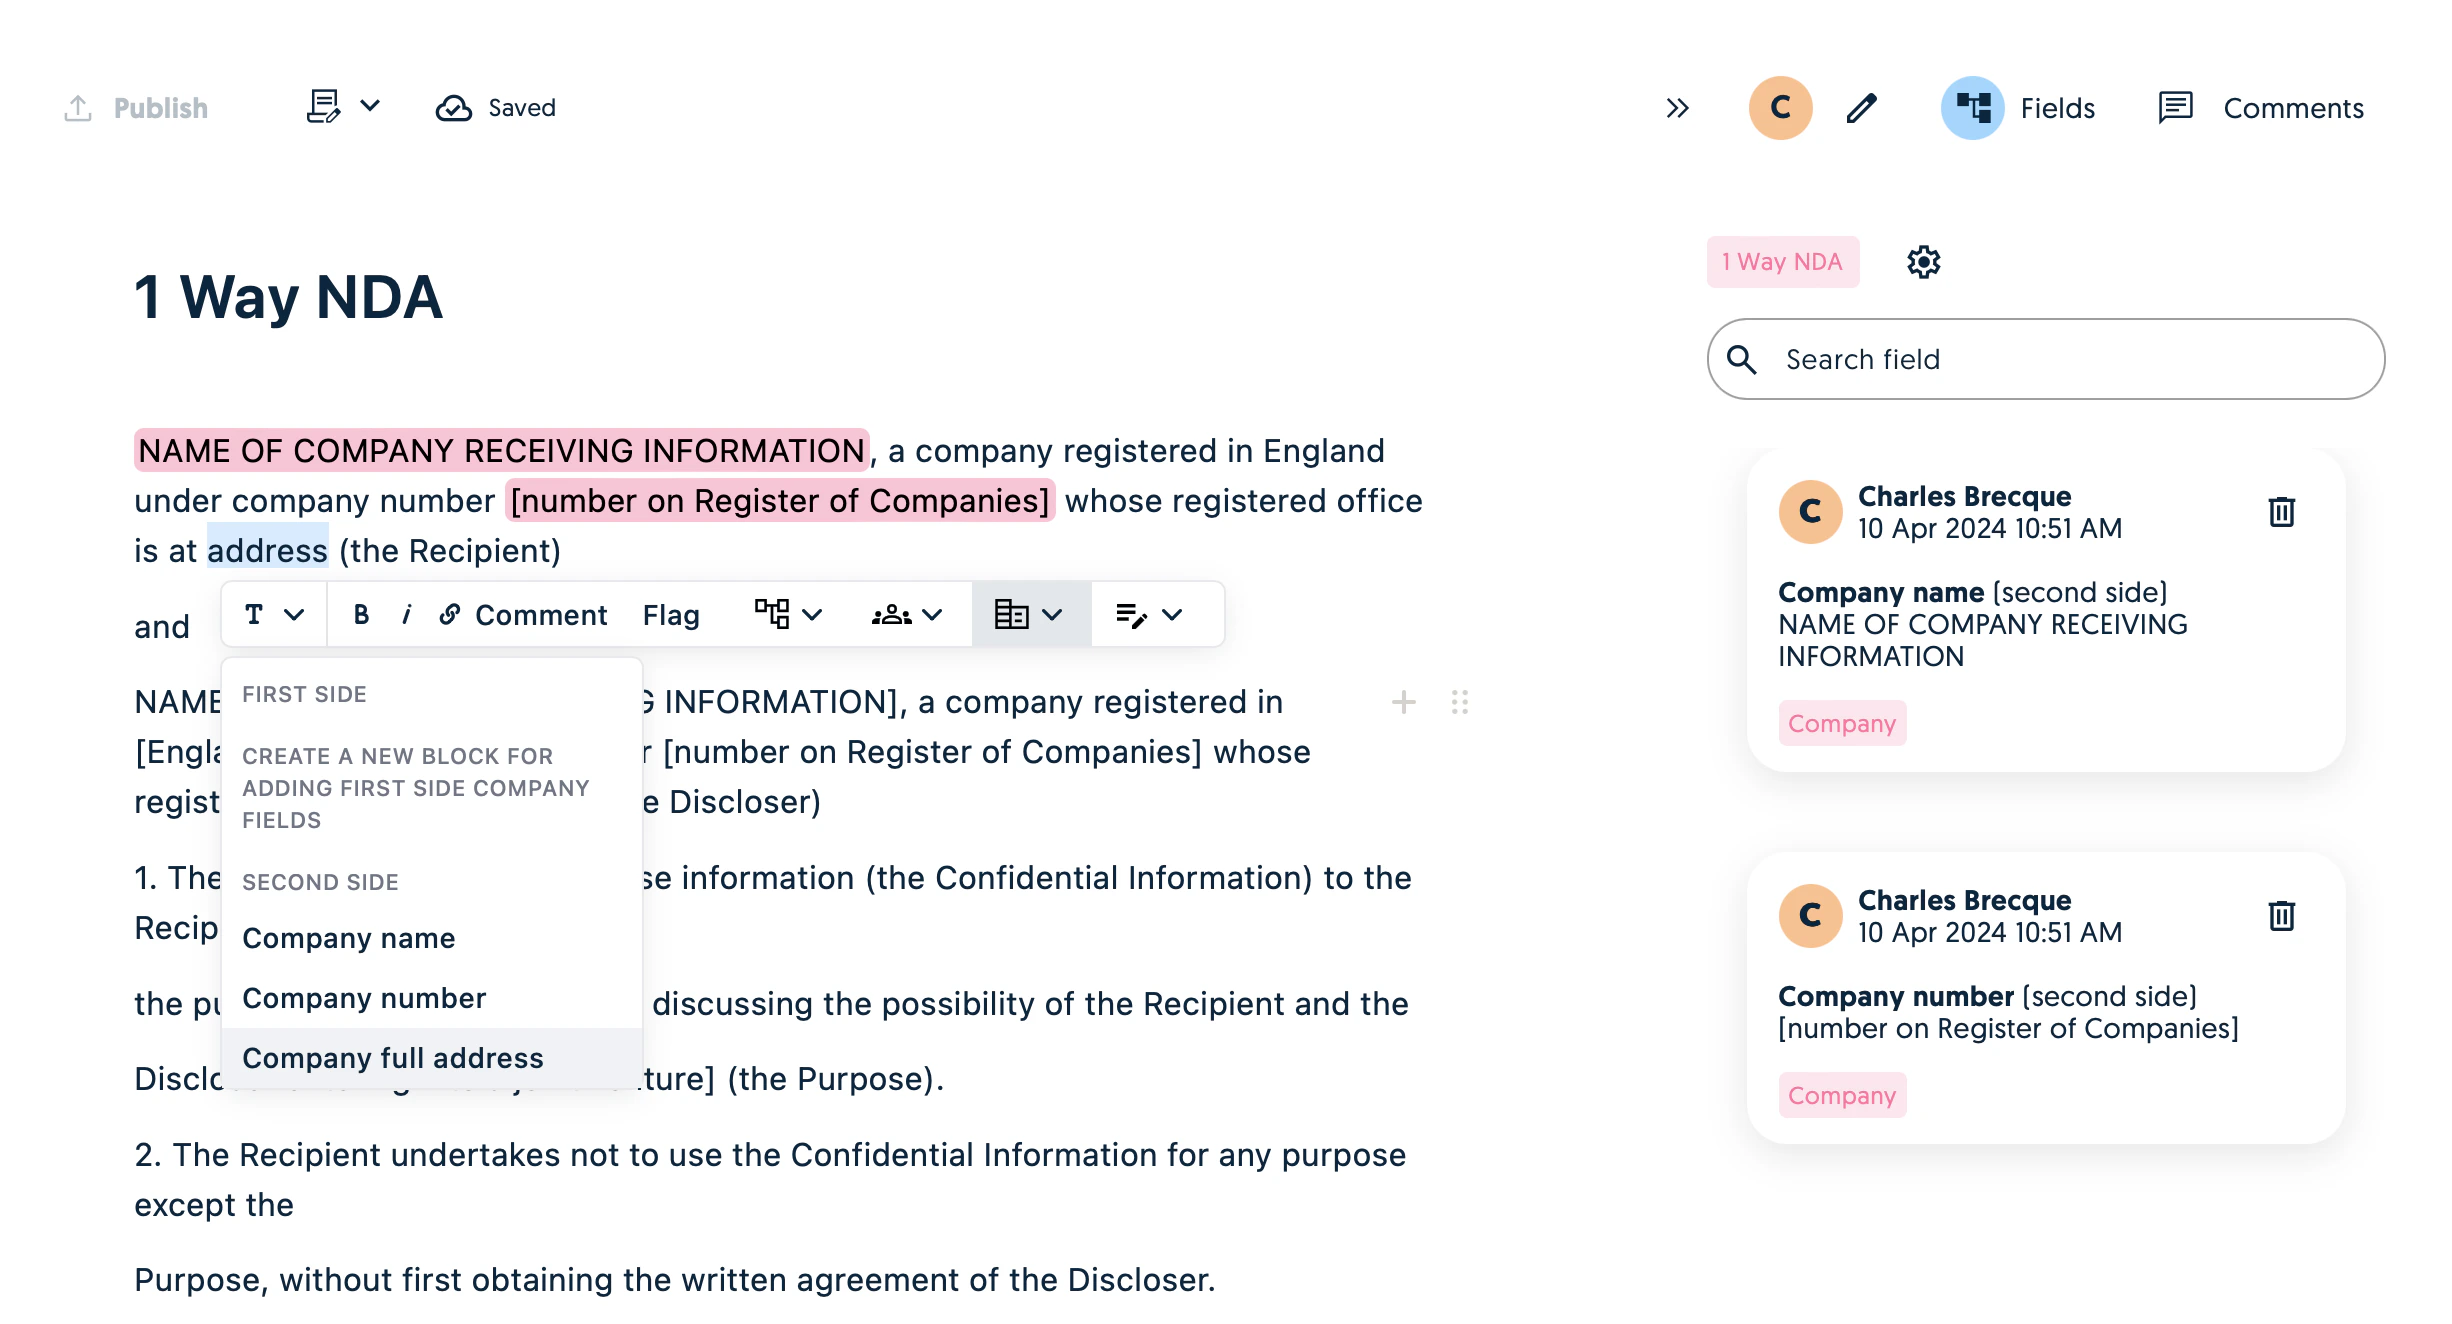
Creating new Fields
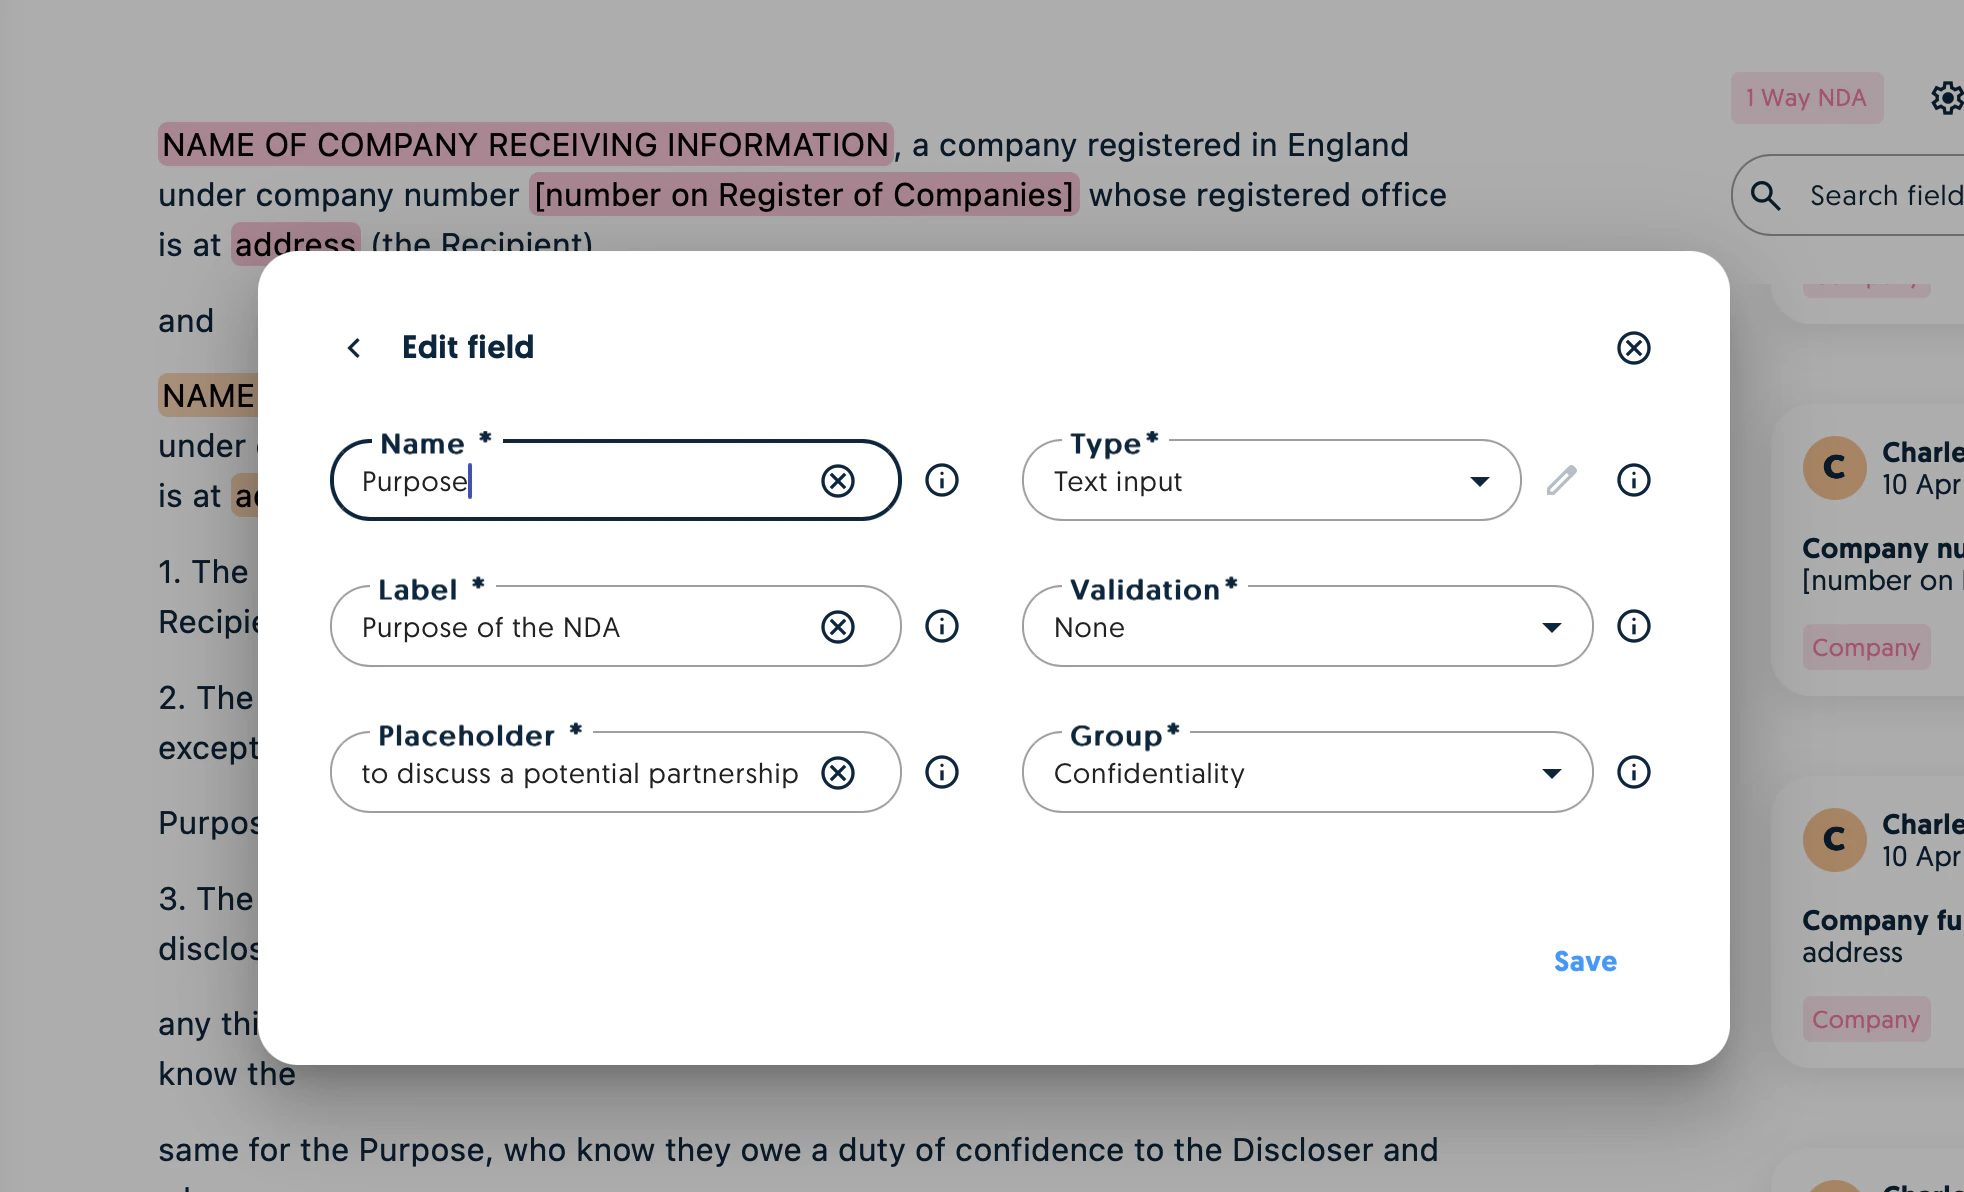
When creating new fields which are specific to your document, select the portion of the text corresponding to the field and click on add new field. You’ll then need to specify a Name, type, Label, validation and group. A group allows you to organise your fields. The name is used for organising your fields internally whereas the label is the question which users will need to answer when completing the form.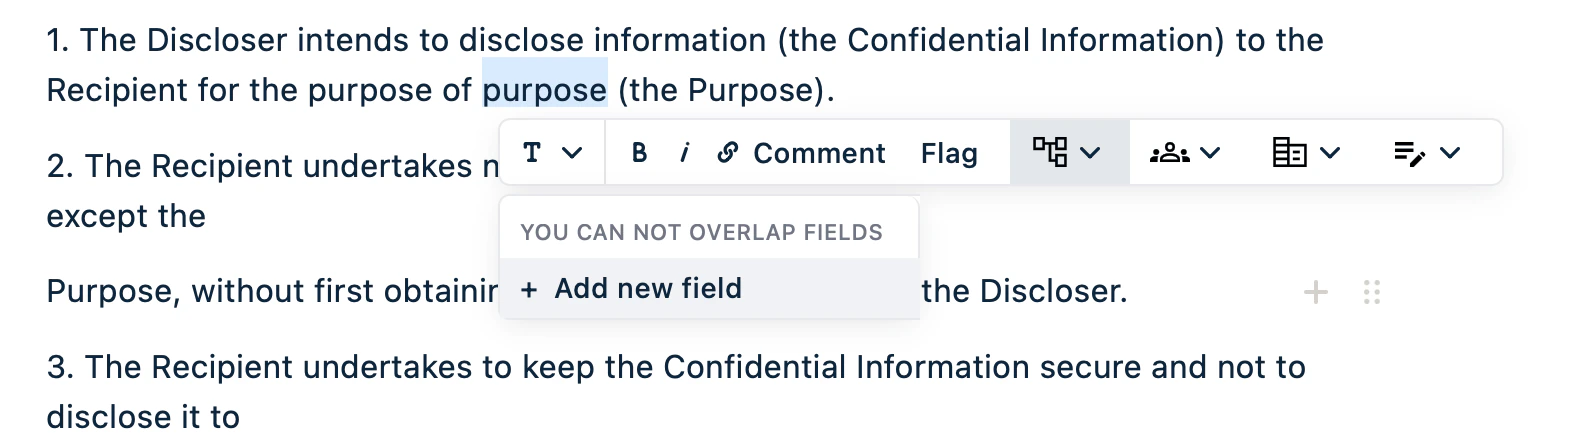
Managing fields
You can manage your fields at any point by clicking on the settings icon on the right hand side of the settings icon.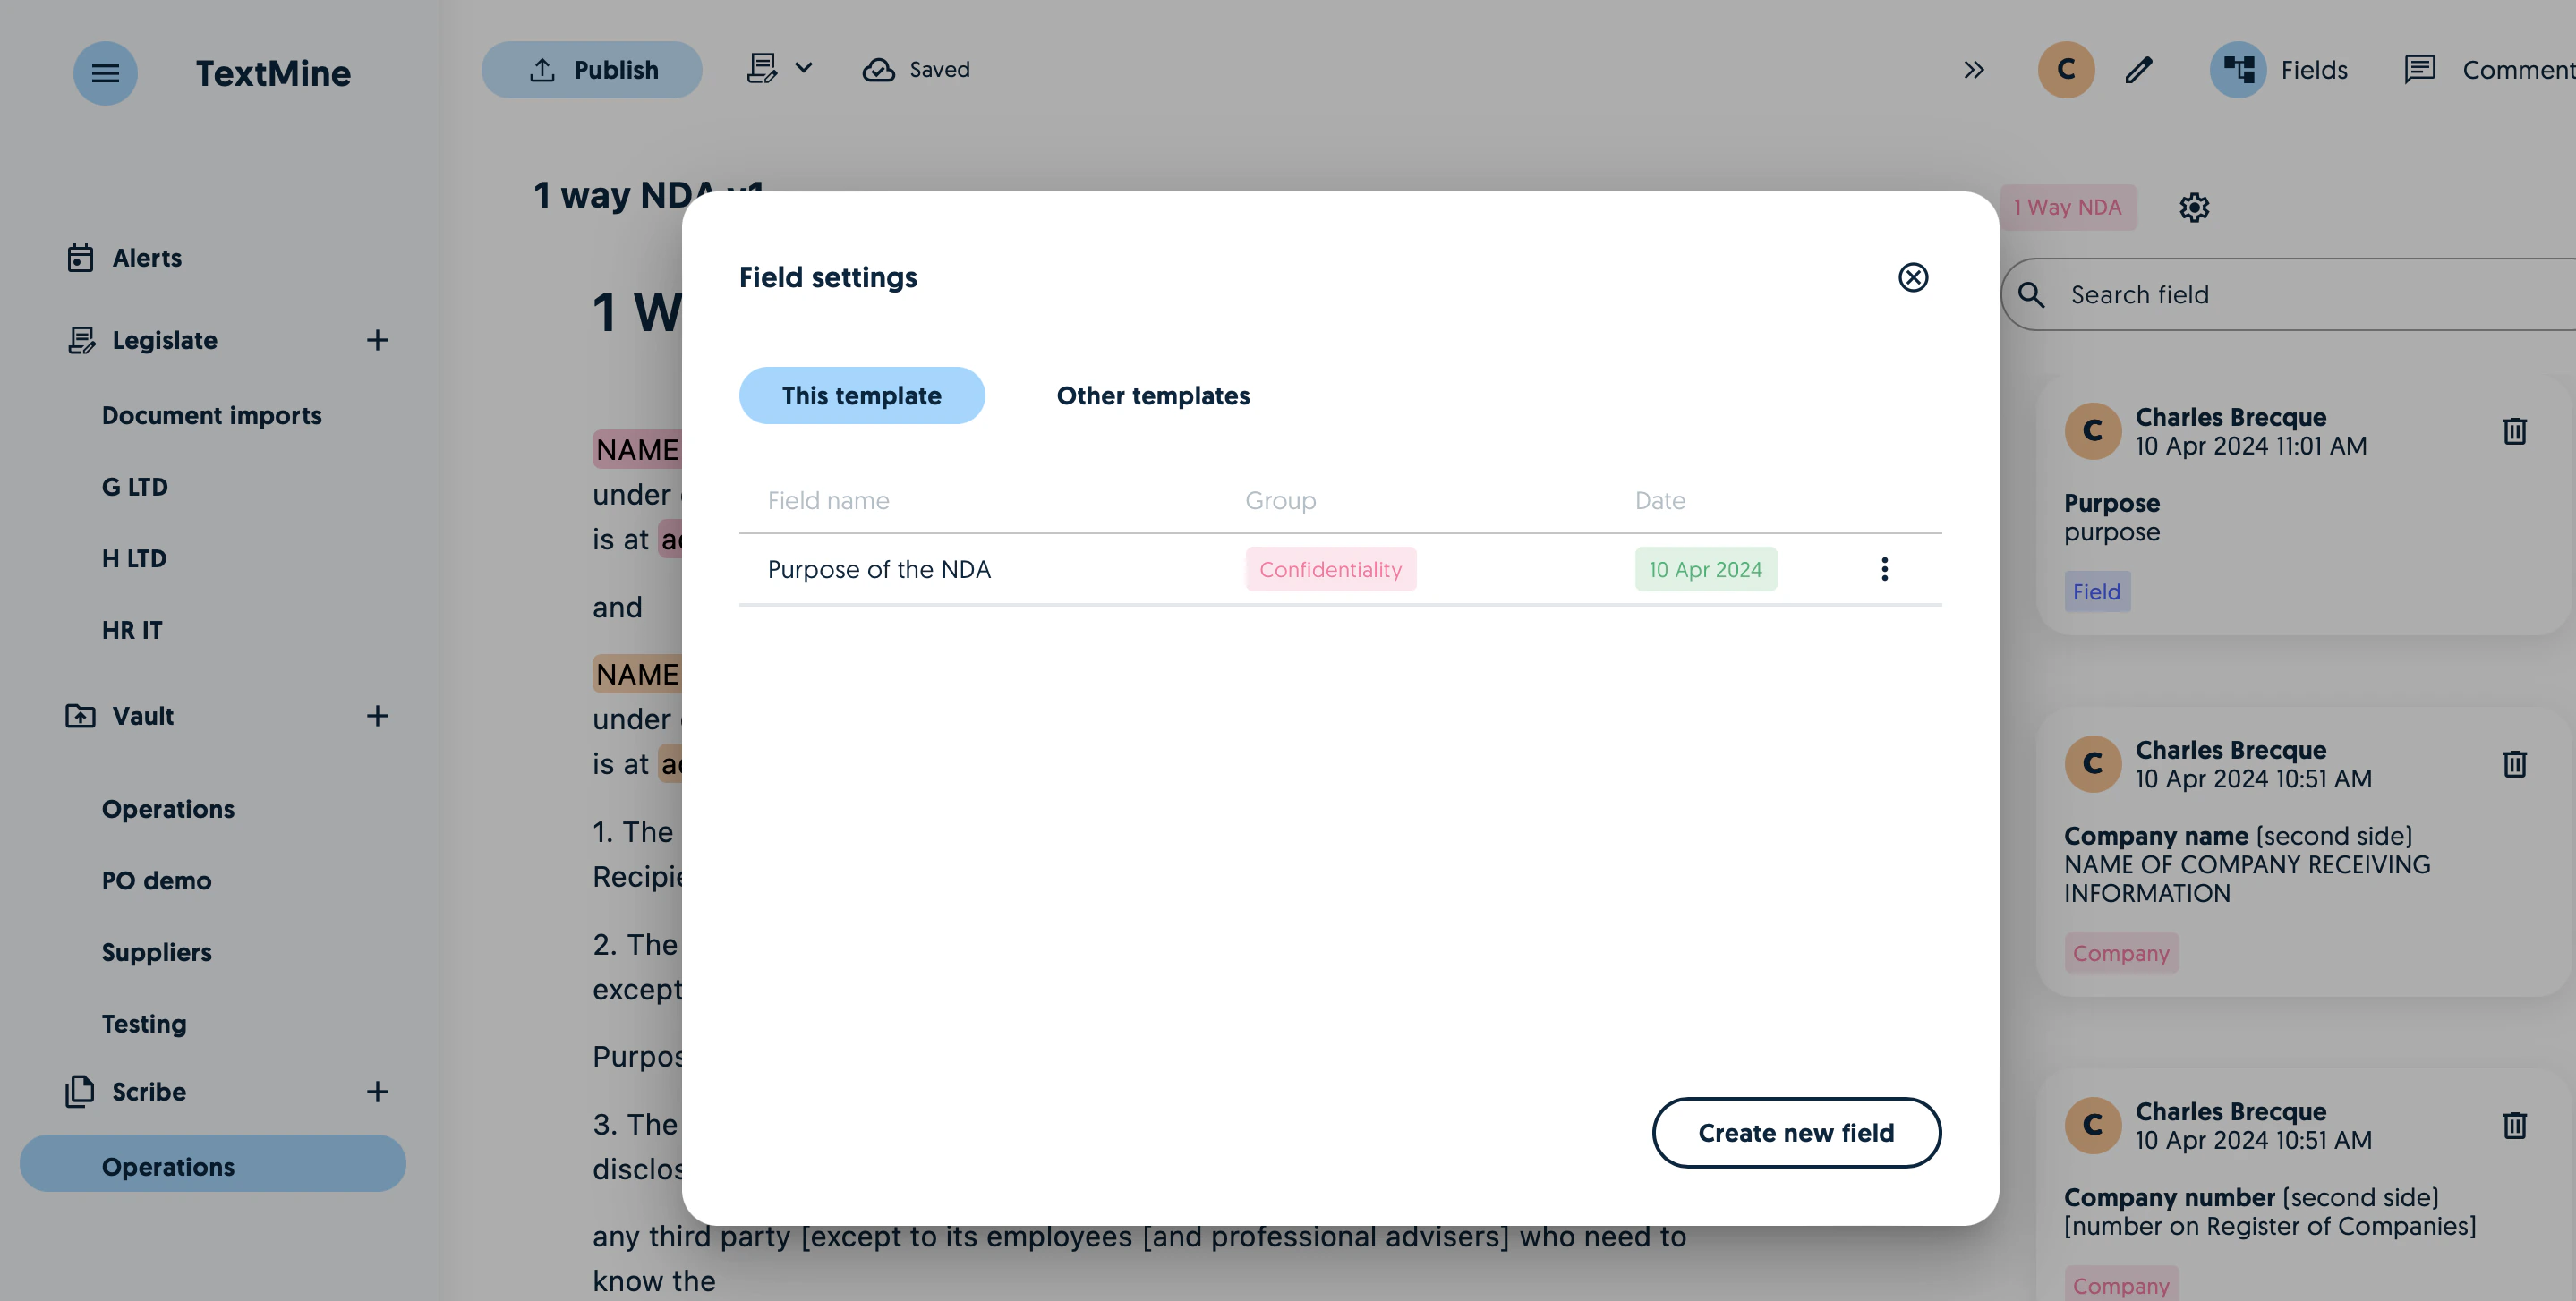
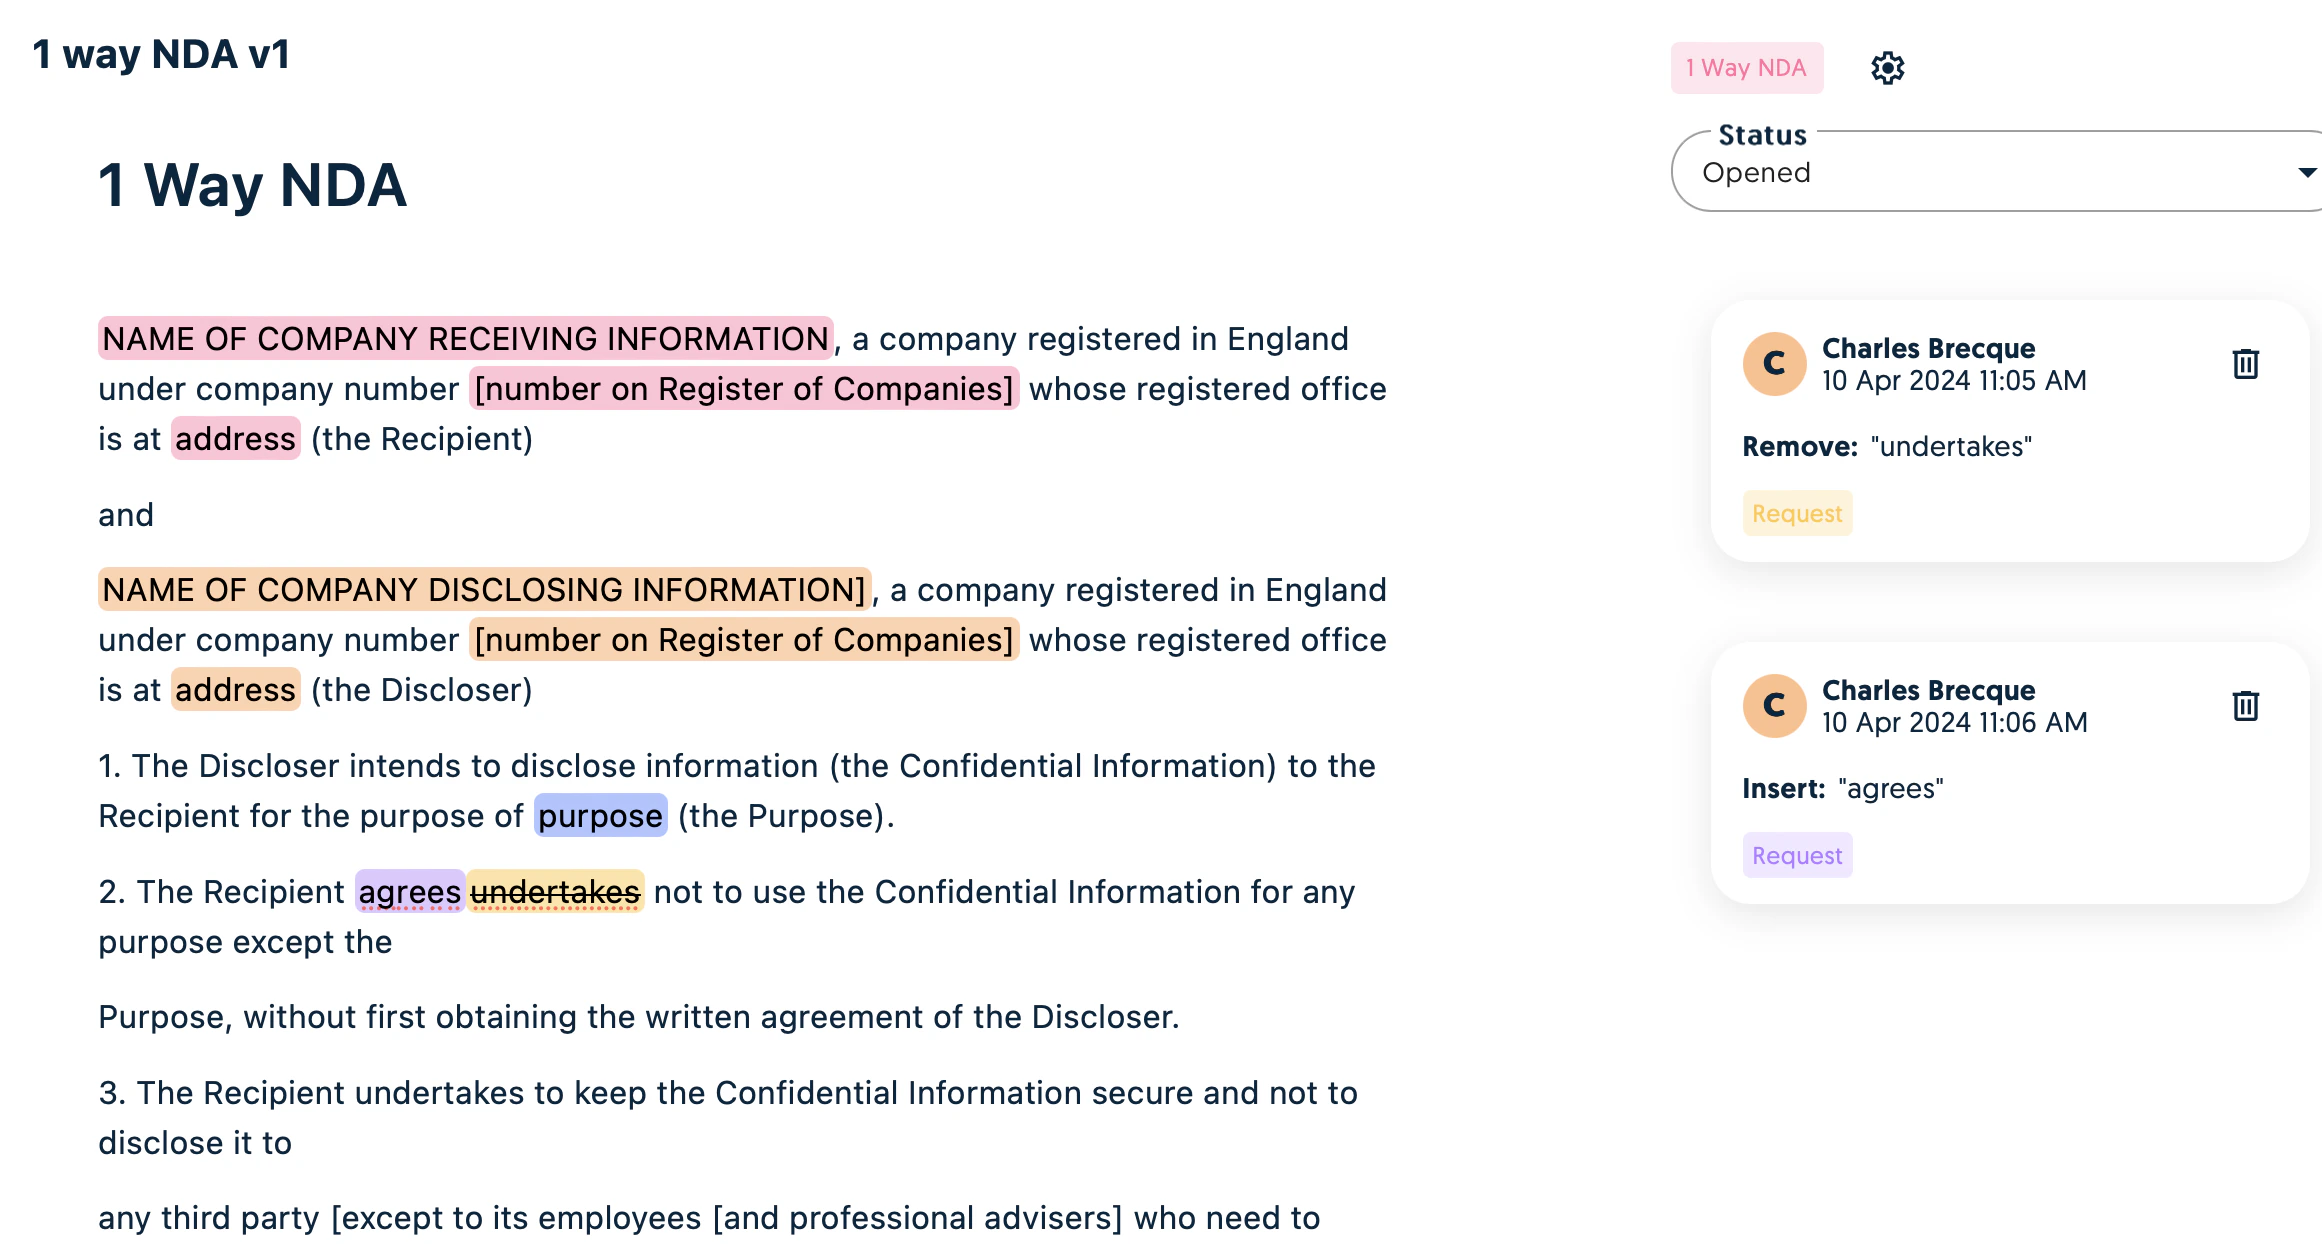
Comments and requests
Scribe has all the drafting functionality you’d expect such as requests, comments and flags. You can switch between editing and requesting from the top left.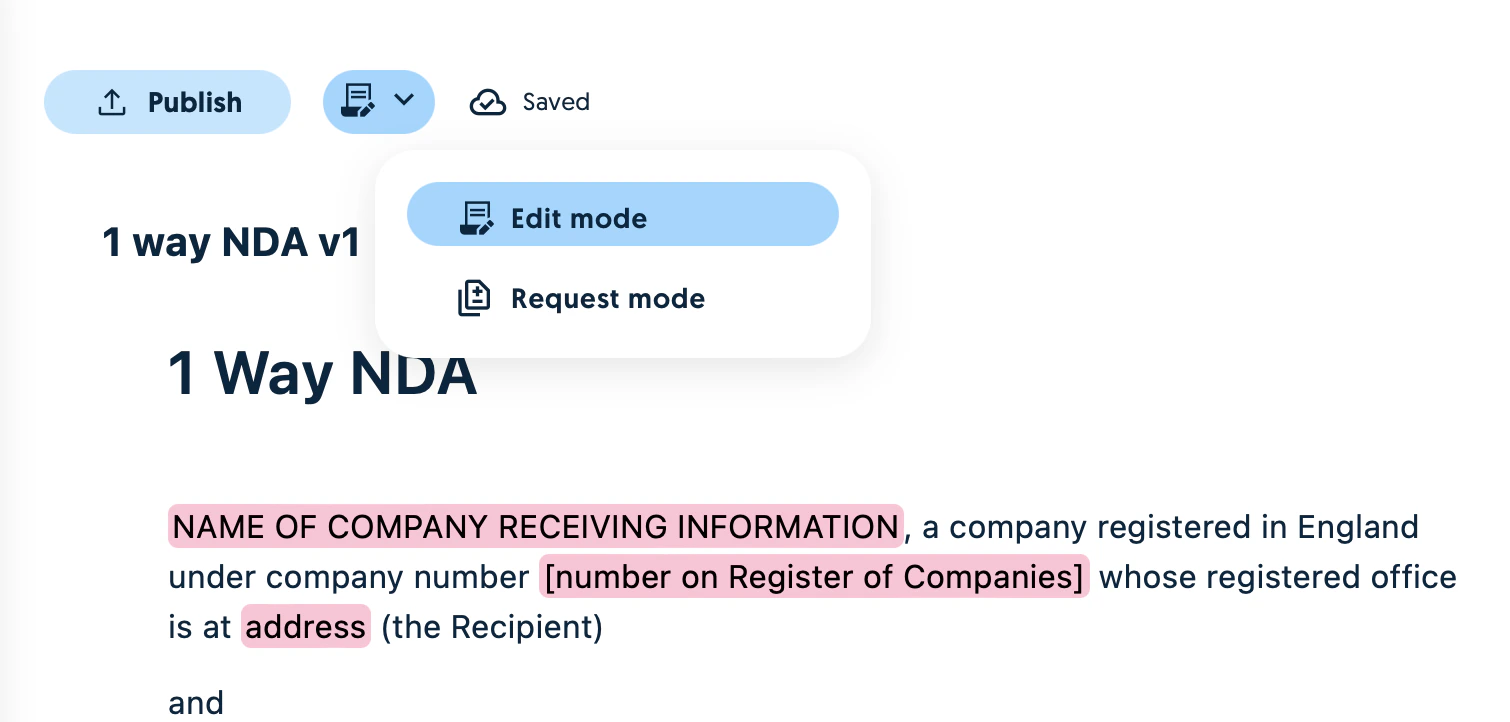
Publishing templates
Once you’re ready to publish a template, you can preview the document and choose which teams should have access to it.

Creating instances of templates
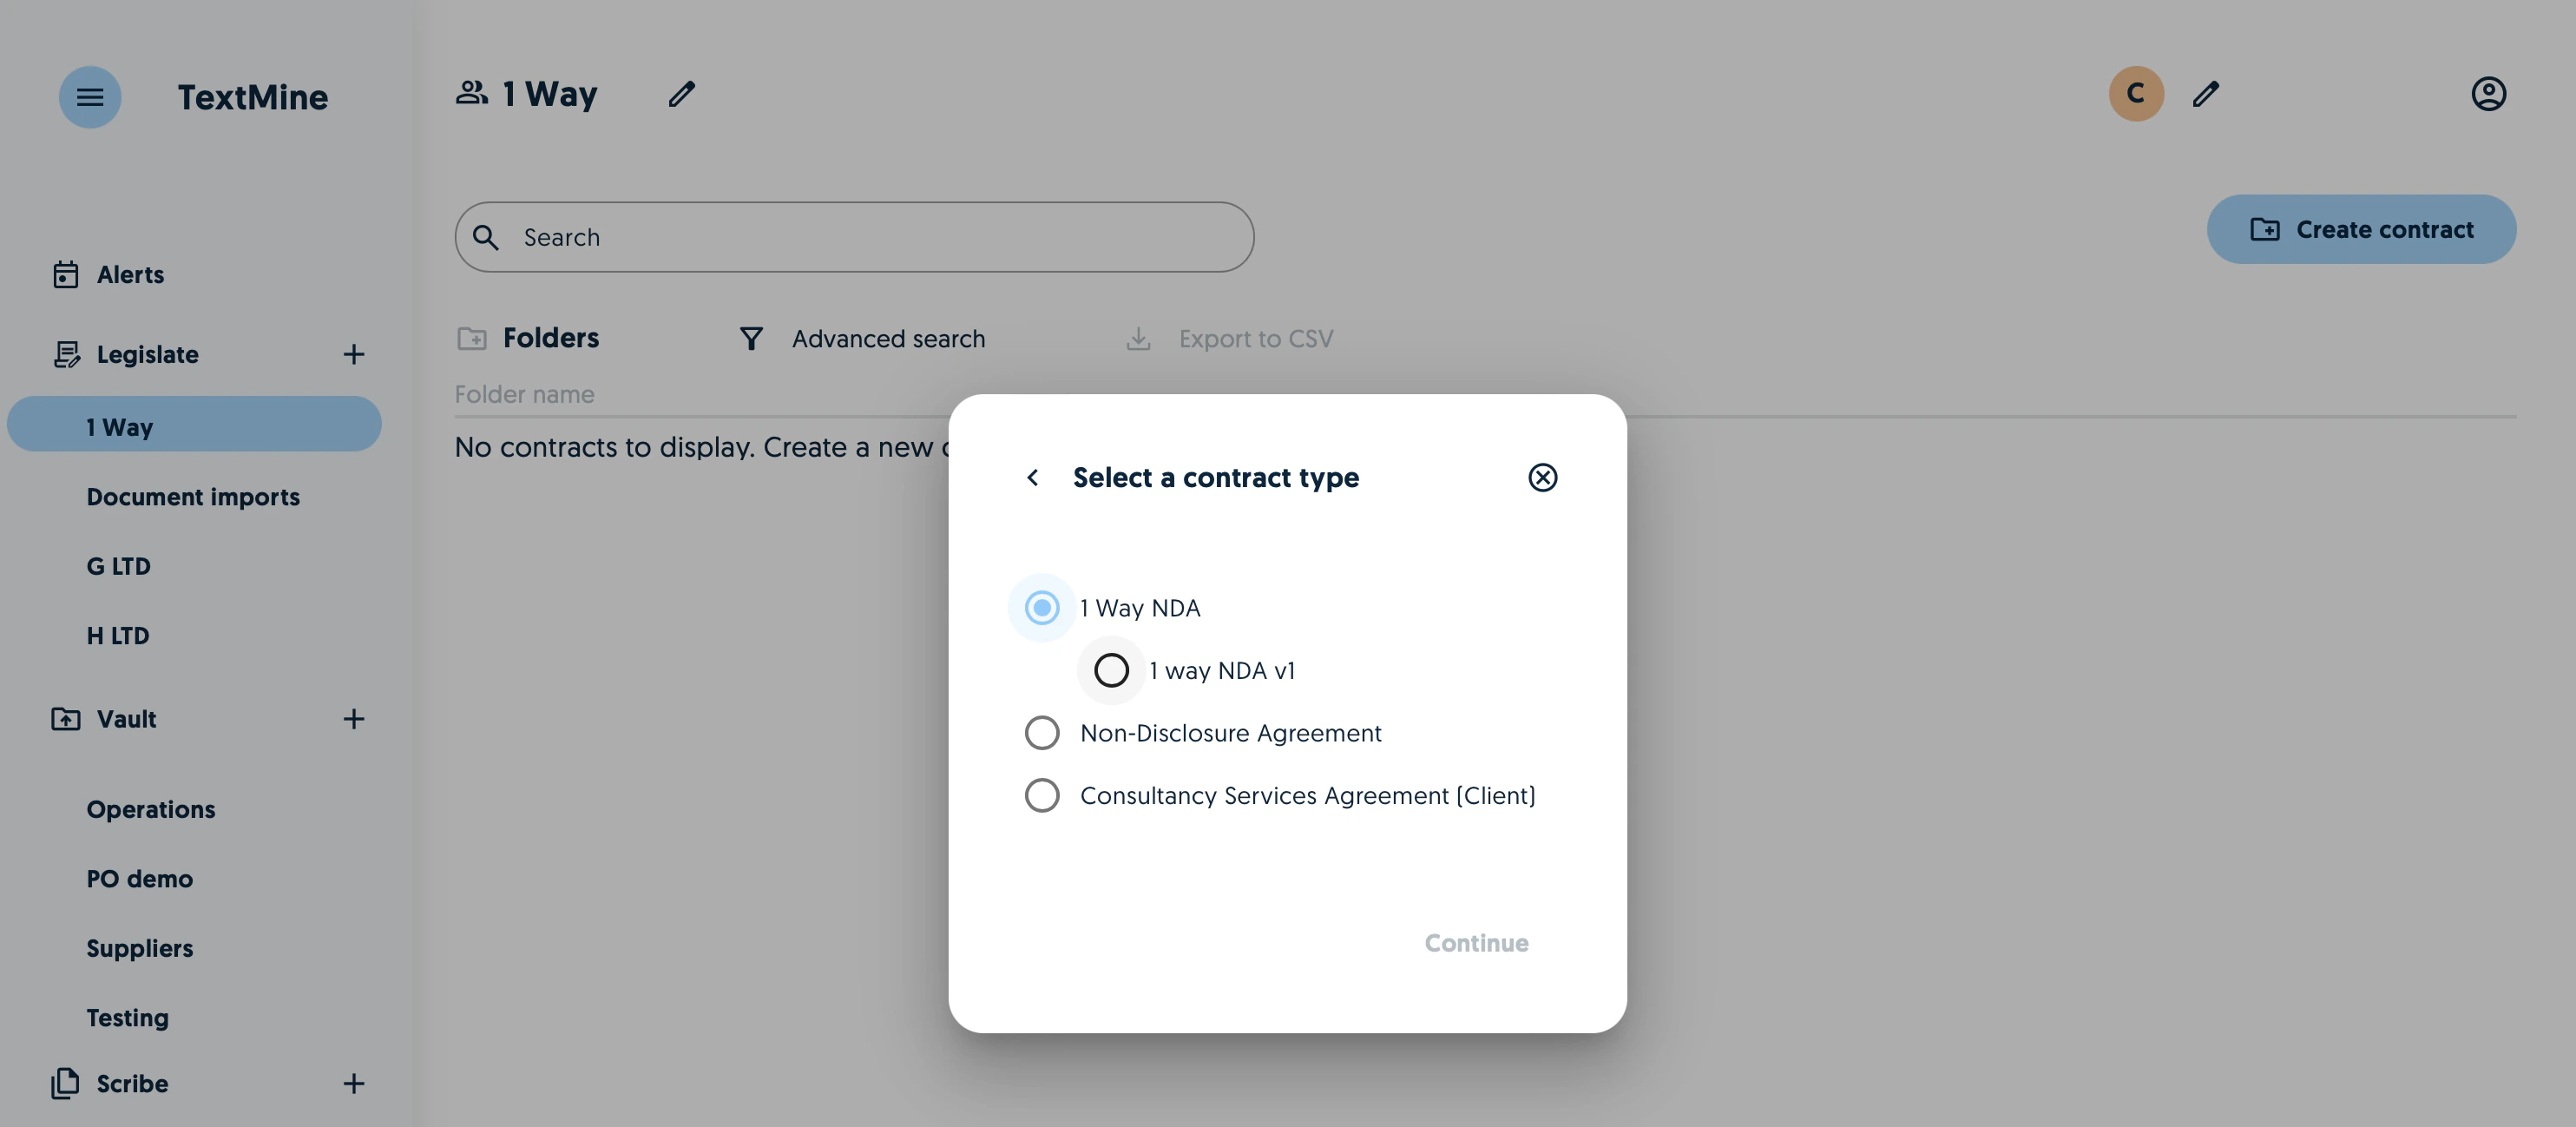
Once you’ve published templates to Legislate teams, they can be configured by clicking on the create button. Select the document type you’d like to configure and its template version.