This page was imported from Intercom and may describe older navigation or terminology. Source: https://help.textmine.com/en/articles/9220737-template-fields
How to create a new field
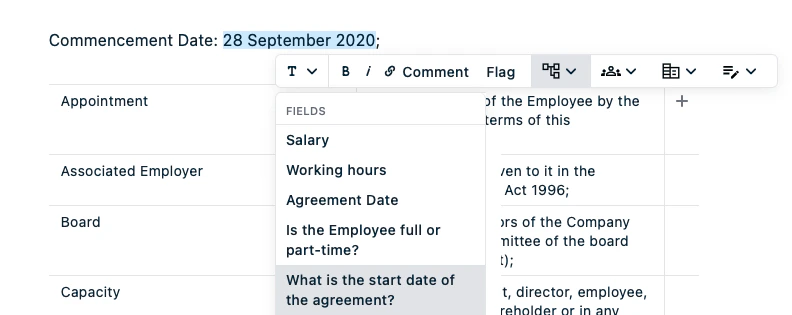
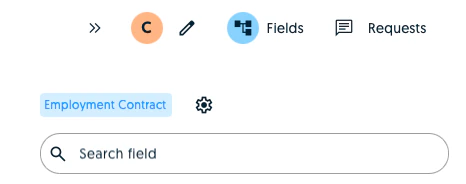
There are 2 ways to create a field. You can either create a field from the text highlight toolbar or by going to the general field settings.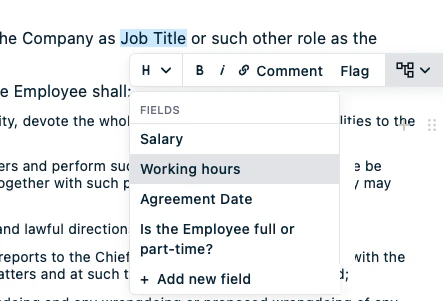
The different types of fields and settings
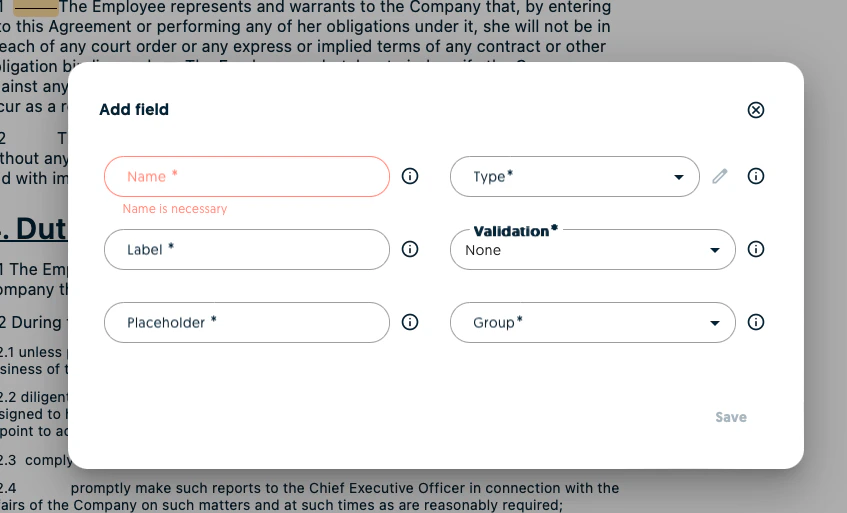
Scribe offers a wide range of settings so that you can truly customise your templates.Name
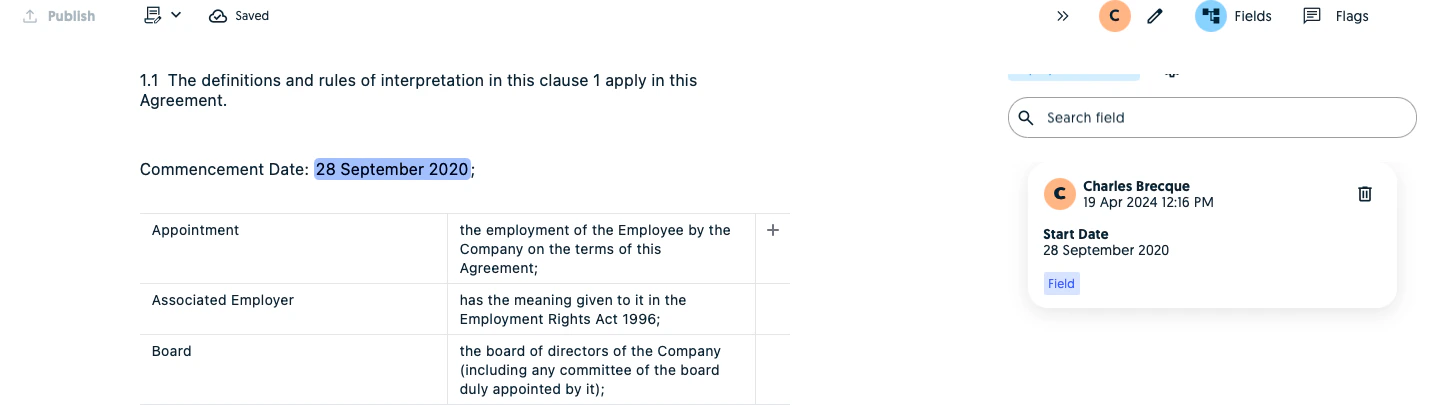
This is a value you can use internally to reference this template field. For example, Start Date.Label
This is the value which will be presented to users when they complete the forms to render documents from the Scribe template. For example, What is the start date of the agreement?.Placeholder
This is a value which can be used to explain the spirit of the question to the user so that they know how the answer should be formatted or which type of answer the field is expecting. E.g. Monday 19 April 2024 or 19/04/2024Group
Field groups allow you to organise your form which will be presented to users when they wish to create instances of the Scribe template. For example, you might have an Agreement Dates group to group all the fields which relate to dates for example the commencement, renewal and expiry dates.Type
This is where you select the field’s type. This can be any of the following: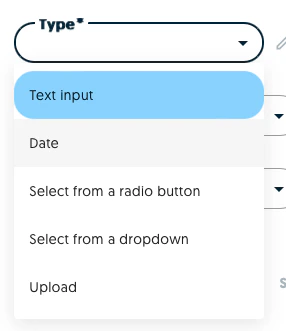
Validation
This allows you to validate the format of the answer. If there is no validation, select None.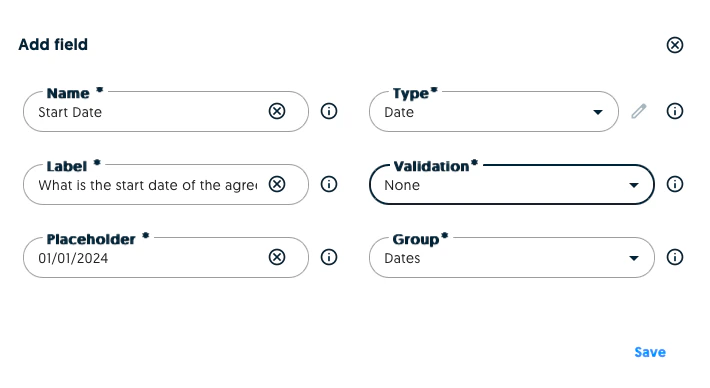
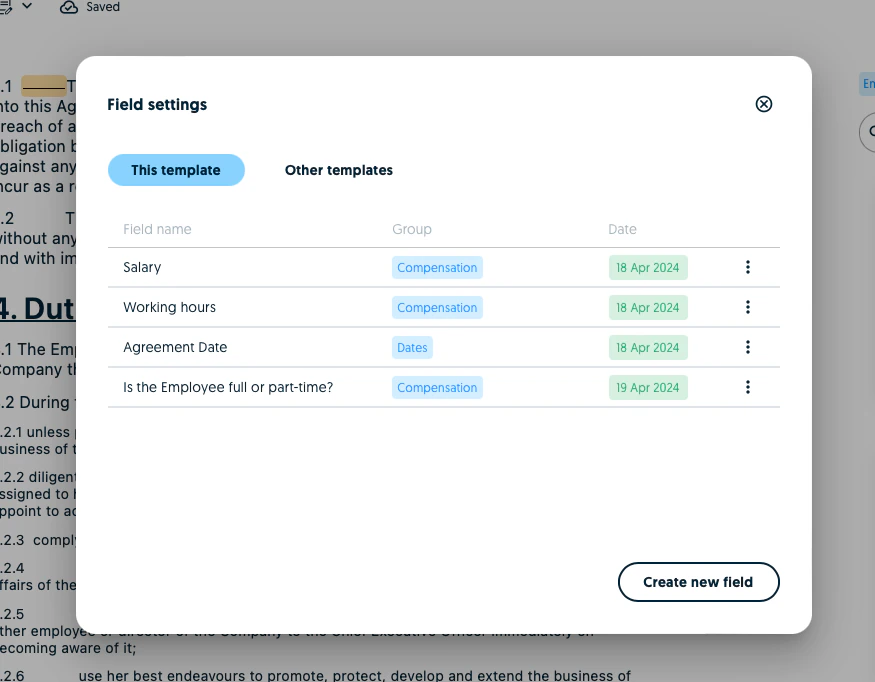
Saving and editing the field
Once you have finished creating your field, click on save. You’ll then see the new field in the summary. As long as the template has not been published, you can edit and delete fields.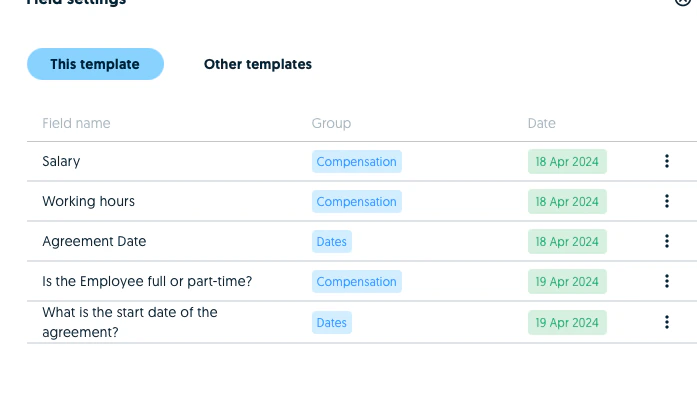
How to insert a field
Now that you have created your field, select the portion of the text where the value should be inserted. The text will then be highlighted and the field will be generated on the right.